Today we will again configure an RDP connection to Tucha from a local machine running Ubuntu 12.04 LTS. But this time we will not use Remmina, but a third-party RDP client called Parallels Client. So, let us start.
First of all, we need to install Parallels Client. This can be done in two ways: independently, by downloading an installation package from the official Parallels Client website (in this case, we recommend the official instructions) or use "Ubuntu Software". Next, we will consider in detail the second method of installing the RDP client.
Install Parallels Client from "Ubuntu Software"
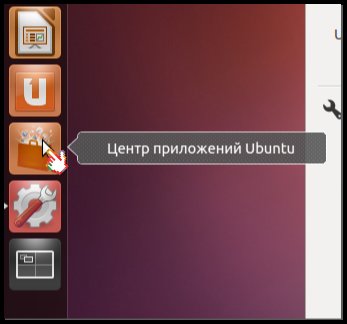
1. To launch "Ubuntu Software", you need to click on its shortcut, which is located on the panel.
Note. If you do not already have an account in Ubuntu One, then you should register, this will allow you to download and install applications. Registration will be automatically offered to you during the start of the installation process.
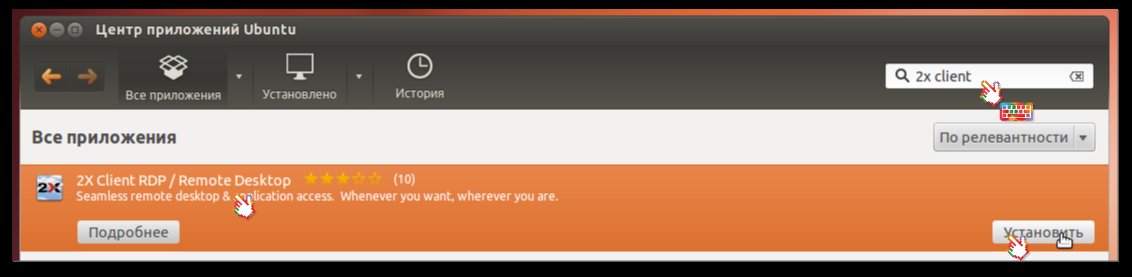
2. Enter "Parallels Client" in the search bar. After the RDP client is found, click on the Parallels Client shortcut, and then click on the "Install" button.
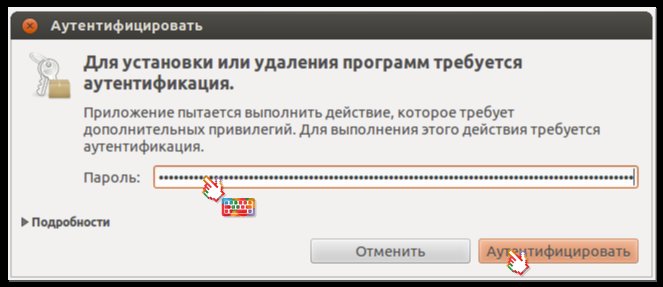
3. Enter the password for your account and click the "Authenticate" button to start installing Parallels Client.
4. Wait until the installation process is complete.
Setting up an RDP connection
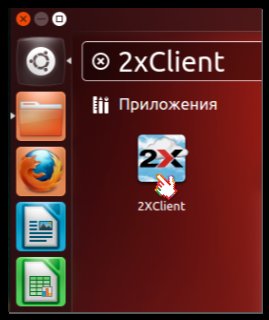
To launch Parallels Client, you need to open the main menu, in the search field you need to start typing "2X". After the application is found, you need to launch it.
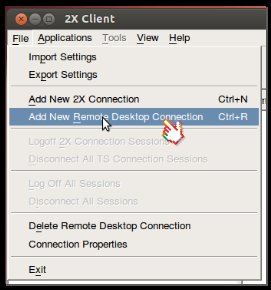
To create a new RDP connection, select "File" in the window that opens on the control panel, then "Add New Remote Desktop Connection". You can also use the keyboard shortcut Ctrl+R.
In the window that opens, "Connection Properties – New Remote Desktop Connection", you need to enter the access details to the virtual machine.
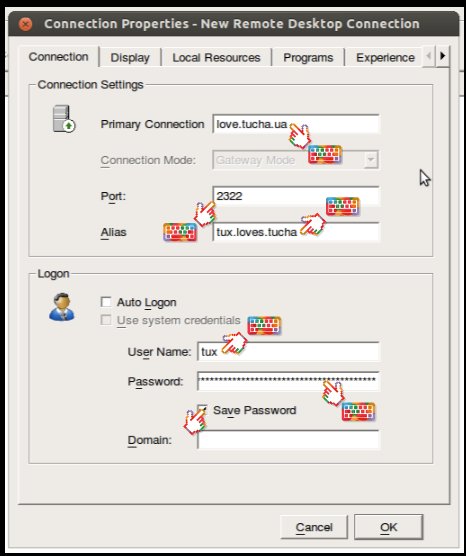
- In the "Primary Connection" field, enter the virtual machine domain name you want to connect.
- In the "Port" field, enter the virtual machine port number.
- In the "Alias" field, enter the name of the connection that will be displayed in the main application window.
- In the "User Name" field, specify the name of the user that was created on the virtual machine.
- In the "Password" field, enter the password for the account on the remote machine.
Note 1. If you activate "Auto Login" in the connection settings, it will automatically start every time the application is launched.
Note 2. If you activate "Save Password", the previously entered password will be saved.
Note 3. The "Domain" field should be filled in only if there are several domain zones on the remote server.
After entering the access details, click "OK", and you will be connected automatically to your Tucha. Enjoy your work!
Additional connection parameters
Now let us look at the other tabs that are in the "Connection Properties" window. If we enter the access details to the virtual machine in the "Connection" tab, in the other tabs we can configure additional connection parameters.
- The "Display" tab. Here you can change the color depth, the screen size (you can specify your window sizes) and configure the parameters for displaying the remote desktop on two monitors.
- The "Local Resources" tab. Allows you to determine the devices that will be connected to the remote machine. Parallels Client allows you to forward drives, printers, serial ports, tokens, or smart cards.
- The "Programs" tab. Allows you to configure the application that will be available during a remote connection session. It means that during the session only one application will be available to the user who has connected. For example, an accountant can only have access to 1C, but not to the entire desktop.
- The "Experience" tab. Here you can specify the parameters for the graphical displaying of the remote desktop: background image, font smoothing, location of desktop elements, etc.
Note. If you are using a slow Internet connection, it is recommended to disable all visual effects to make your work more comfortable.